To effectively track and analyze your online store's performance in 2024, follow this GA4 ecommerce tracking setup checklist:
- Enable Ecommerce Tracking: Navigate to your GA4 property and enable ecommerce tracking to collect data on transactions, revenue, and other ecommerce metrics.
- Create UTM Parameters: Create UTM parameters to track specific marketing campaigns and understand which efforts drive sales.
- Test Configurations: Test your tracking configurations to ensure data accuracy.
- Set Conversion Goals: Define conversion goals to measure the success of your ecommerce efforts.
To set up GA4 ecommerce tracking, you need:
- Familiarity with Google Analytics 4
- Google Tag Manager set up on your website
- Understanding of ecommerce tracking fundamentals
- Properly configured GA4 property and data streams
- Data layer set up on your website
Related video from YouTube
Key Steps
| Step | Description |
|---|---|
| Enable Ecommerce Settings | Turn on ecommerce tracking in your GA4 property |
| Configure Data Streams | Enable ecommerce tracking for your website data stream |
| Create Measurement ID | Generate a measurement ID to track your website |
| Prepare Data Layer | Define and populate the data layer with ecommerce data |
| Create Ecommerce Tags | Set up ecommerce tags in Google Tag Manager |
| Test Tracking Setup | Use DebugView, Tag Assistant, and trigger testing |
| Analyze Ecommerce Reports | Review reports like Ecommerce Overview and Product Performance |
| Improve Tracking Setup | Regularly review, apply insights, and optimize your setup |
Requirements for GA4 Ecommerce Tracking
To set up GA4 ecommerce tracking, you need to meet certain requirements. Ensure you have the necessary tools and knowledge before starting.
Familiarity with Google Analytics 4

You should have a basic understanding of Google Analytics 4, including:
- How to create a property
- How to set up data streams
- How to navigate the interface
Google Tag Manager

You need to have Google Tag Manager (GTM) set up on your website. GTM is a tag management system that allows you to manage and deploy marketing and analytics tags on your website without requiring IT support.
Ecommerce Fundamentals
You should have a basic understanding of ecommerce tracking, including:
- How to track transactions
- How to track revenue
- How to track other ecommerce-related metrics
GA4 Property Setup
You need to have a GA4 property set up and configured correctly, including:
| Requirement | Description |
|---|---|
| Data streams | Set up data streams to collect data from your website or app |
| Measurement ID | Create a measurement ID to track your website or app |
| Data collection | Configure data collection to track ecommerce metrics |
Data Layer Setup
You need to have a data layer set up on your website. The data layer is a JavaScript object that contains information about your website's pages, such as:
- Page titles
- Categories
- Product information
Setting Up GA4 for Ecommerce
To set up GA4 for ecommerce, you need to enable ecommerce settings and configure your property to collect transaction and product data. Here's a step-by-step guide to help you navigate the GA4 interface:
Enabling Ecommerce Settings
To enable e-commerce settings:
1. Sign in to your Google Analytics 4 account and select the property you want to configure.
2. Click on "Admin" in the bottom left corner of the screen.
3. In the "Property" column, click on "Ecommerce settings".
4. Toggle the switch to "On" to enable ecommerce tracking.
Configuring Data Streams
To configure data streams:
| Step | Action |
|---|---|
| 1 | In the "Admin" section, click on "Data streams" in the "Property" column. |
| 2 | Click on the data stream you want to configure. |
| 3 | Under "Stream details", click on "Edit". |
| 4 | In the "Enhanced measurement" section, toggle the switch to "On" for "Ecommerce". |
| 5 | Click "Save" to save your changes. |
Creating a Measurement ID
To create a measurement ID:
| Step | Action |
|---|---|
| 1 | In the "Admin" section, click on "Data streams" in the "Property" column. |
| 2 | Click on the data stream you want to configure. |
| 3 | Under "Stream details", click on "Edit". |
| 4 | In the "Measurement ID" section, click on "Create". |
| 5 | Copy the Measurement ID and save it for later use. |
Preparing the Data Layer
To accurately track ecommerce activities in GA4, you need to set up and populate the data layer with the right ecommerce data. The data layer acts as a bridge between your website's activities and the analytical insights you get from GA4.
Defining the Data Layer Structure
To define the data layer structure:
-
Identify the key ecommerce interactions and data points you want to track, such as:
- Product details (ID, name, category, brand, variant, price, quantity)
- Transaction details (ID, total value, tax, shipping, currency, coupon)
- User interactions (add to cart, checkout steps, purchases)
- Create a standardized data layer structure that follows GA4's recommended format. This ensures the data is properly formatted and easily consumable by GA4.
Here's an example data layer structure for a purchase event:
| Key | Value |
|---|---|
| event | purchase |
| ecommerce | |
| transaction_id | T12345 |
| affiliation | Online Store |
| value | 230.45 |
| tax | 5.45 |
| shipping | 5.00 |
| currency | USD |
| coupon | SUMMER_SALE |
| items | |
| item_id | SKU_12345 |
| item_name | T-Shirt |
| item_brand | BrandA |
| item_category | Apparel |
| item_variant | Gray |
| price | 25.00 |
| quantity | 2 |
Populating the Data Layer
To populate the data layer:
- Implement the data layer structure on your website's relevant pages (product, cart, checkout, etc.) using JavaScript or your website's server-side language (PHP, Python, Ruby, etc.).
- Ensure the data layer is dynamically populated with the correct values based on user interactions and product/transaction data.
- Push the ecommerce data to the data layer at the appropriate times, such as when a product is added to the cart, during checkout steps, or when a purchase is completed.
- Validate the data layer implementation by inspecting the data layer object in your browser's developer tools or using the Google Tag Assistant extension.
Creating Ecommerce Tags in Tag Manager
To set up GA4 ecommerce tracking, you need to create ecommerce tags in Google Tag Manager (GTM). This section will guide you through the process of creating ecommerce tags in GTM, including how to establish triggers for key ecommerce actions like 'add to cart' and 'complete purchase'.
Creating a GA4 Event Tag
To create a GA4 event tag in GTM:
| Step | Action |
|---|---|
| 1 | Log in to your GTM account and select the container where you want to create the tag. |
| 2 | Click on Tags and then New. |
| 3 | Select GA4 Event as the tag type. |
| 4 | Enter a name for your tag, such as "GA4 Ecommerce Event". |
| 5 | Select the Configuration tab and enter your GA4 measurement ID. |
| 6 | Choose the Event Name that corresponds to the ecommerce action you want to track, such as "add_to_cart" or "purchase". |
| 7 | Configure the Event Parameters by selecting the relevant ecommerce variables, such as "items" or "transaction_id". |
Establishing Triggers for Ecommerce Actions
To establish triggers for ecommerce actions:
| Step | Action |
|---|---|
| 1 | Click on Triggers and then New. |
| 2 | Select the Custom Event trigger type. |
| 3 | Enter a name for your trigger, such as "Add to Cart Trigger". |
| 4 | Configure the trigger to fire on specific ecommerce actions, such as when a product is added to the cart or when a purchase is completed. |
| 5 | Save your trigger. |
Linking the Tag to the Trigger
To link the tag to the trigger:
| Step | Action |
|---|---|
| 1 | Go back to your GA4 event tag and click on the Triggers tab. |
| 2 | Select the trigger you created earlier, such as "Add to Cart Trigger". |
| 3 | Save your changes. |
Remember to test your tracking setup to ensure that data is being sent correctly to GA4. In the next section, we'll cover testing your tracking setup and troubleshooting common issues.
sbb-itb-b8bc310
Testing Your Tracking Setup
Testing your GA4 ecommerce tracking setup is crucial to ensure that data is being sent correctly to GA4. In this section, we'll cover the various testing tools and methods you can use to verify that your tracking setup is working as expected.
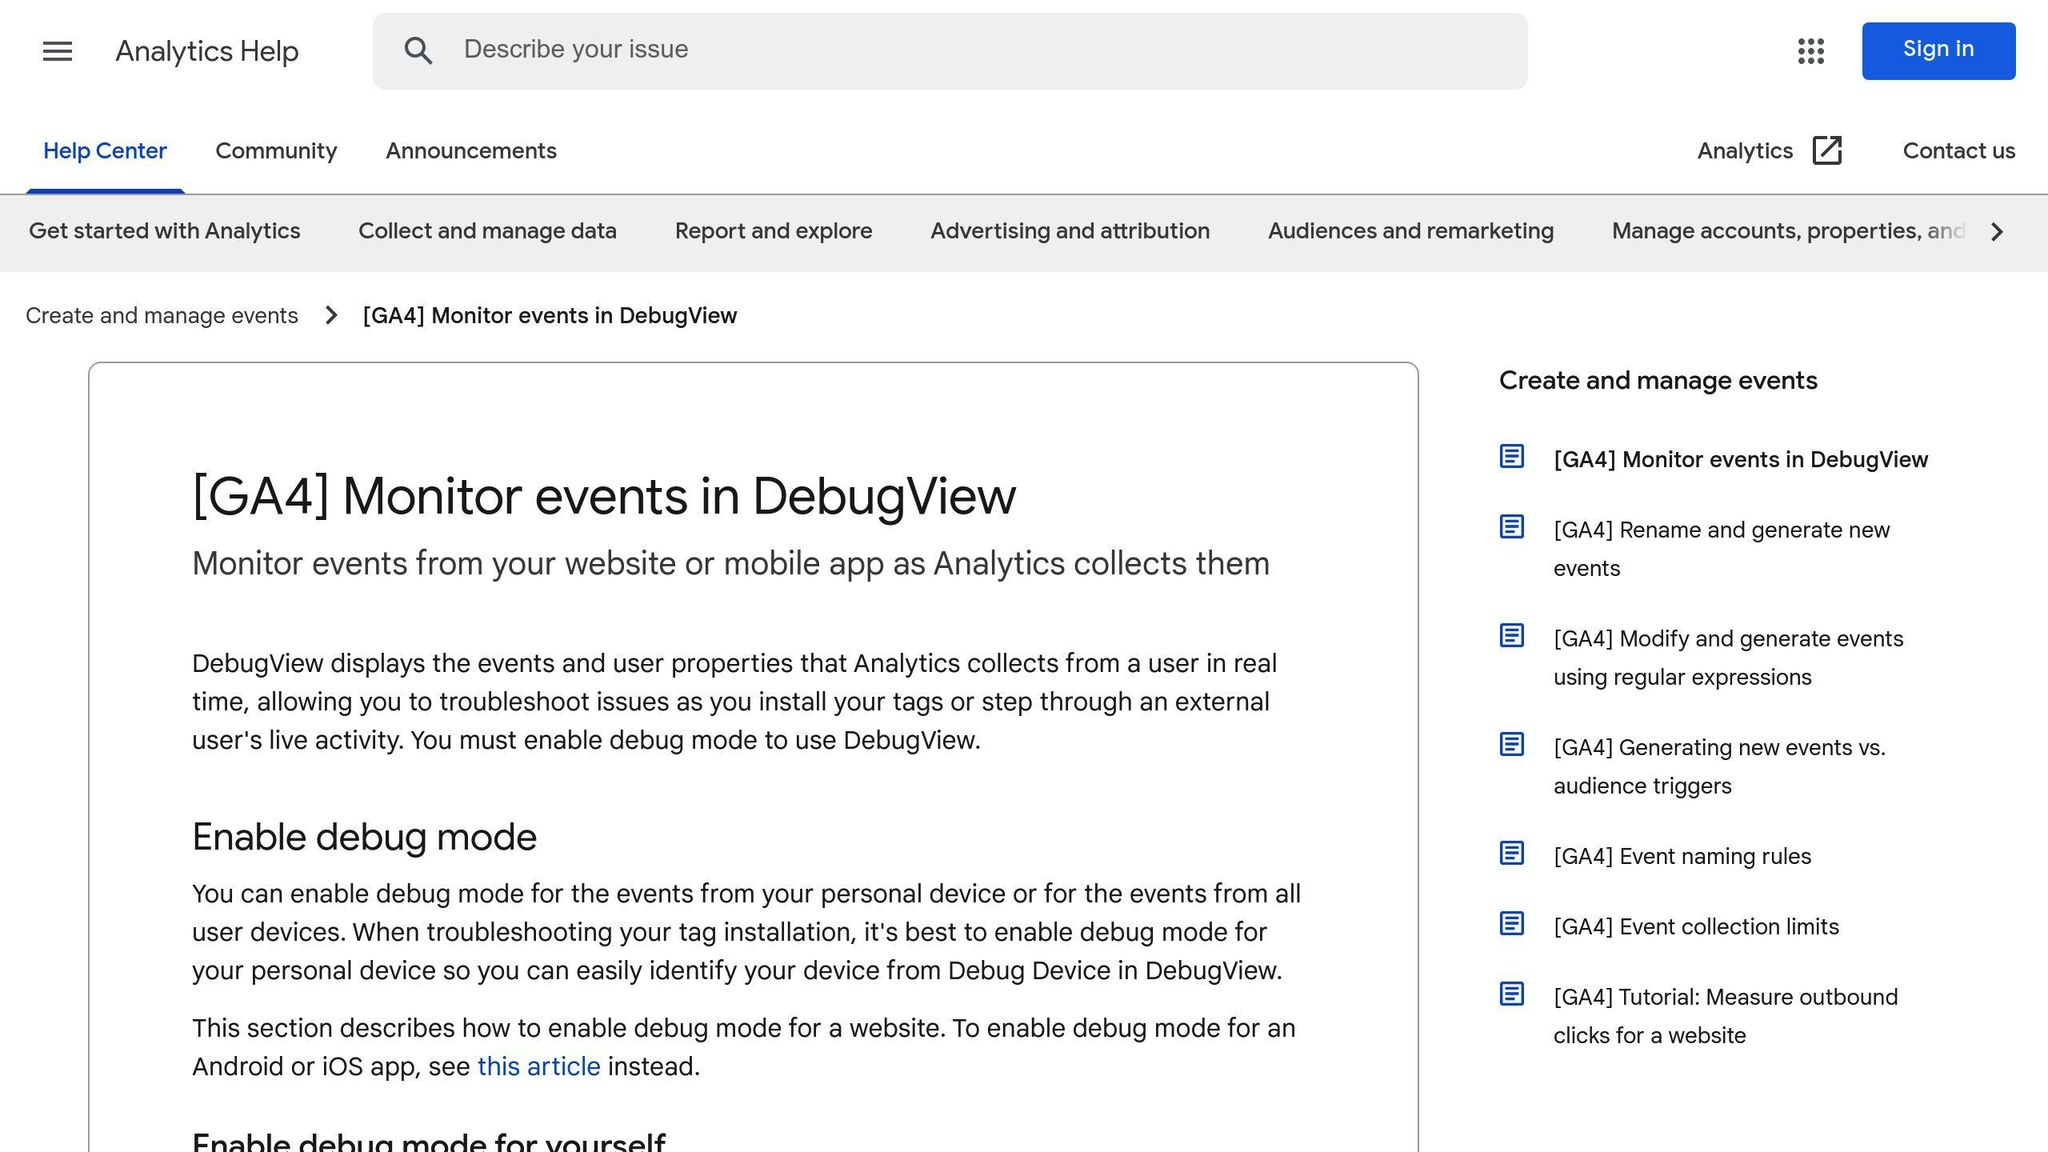
Using the GA4 DebugView

The GA4 DebugView is a powerful tool that allows you to inspect and debug your GA4 events in real-time. To access the DebugView, follow these steps:
| Step | Action |
|---|---|
| 1 | Go to your GA4 property and click on DebugView. |
| 2 | Select the Events tab to view a list of all events that have been sent to GA4. |
| 3 | Click on an event to view its details, including the event name, parameters, and timestamp. |
Using the Tag Assistant

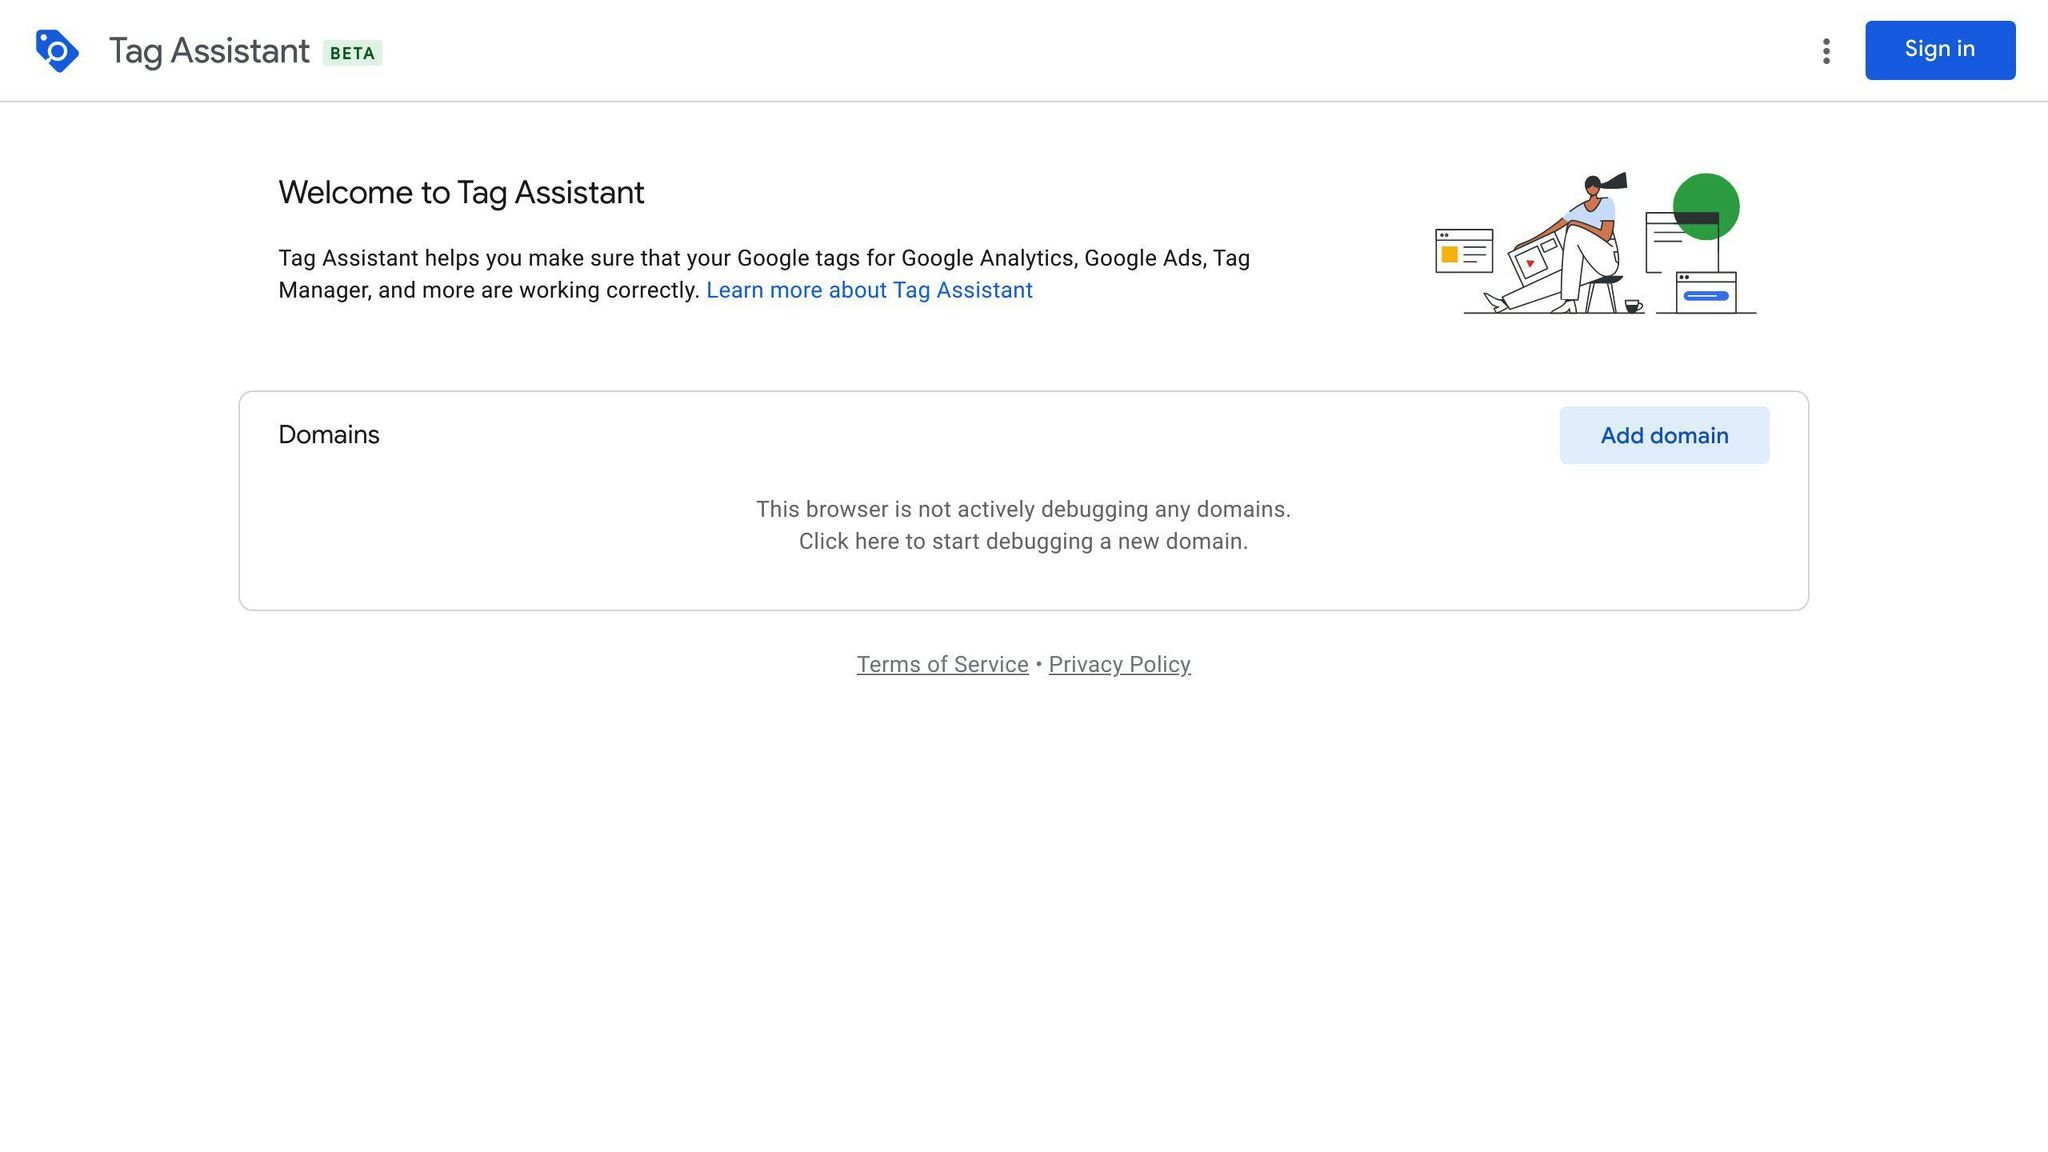
The Tag Assistant is a Chrome extension that allows you to inspect and debug your Google tags, including GA4 events. To use the Tag Assistant, follow these steps:
| Step | Action |
|---|---|
| 1 | Install the Tag Assistant Chrome extension. |
| 2 | Go to your website and click on the Tag Assistant icon in the top-right corner of the browser. |
| 3 | Select the GA4 tab to view a list of all GA4 events that have been sent. |
| 4 | Click on an event to view its details, including the event name, parameters, and timestamp. |
Testing Your Triggers
To test your triggers, follow these steps:
| Step | Action |
|---|---|
| 1 | Go to your GTM container and select the trigger you want to test. |
| 2 | Click on the Preview button to test the trigger. |
| 3 | Verify that the trigger fires correctly and sends the expected data to GA4. |
Troubleshooting Common Issues
When setting up GA4 ecommerce tracking, you may encounter some common issues that can affect the accuracy of your tracking data. In this section, we'll cover some practical advice for diagnosing and fixing frequent issues encountered during the tracking setup.
Data Discrepancies and Inaccuracies
Data discrepancies and inaccuracies can occur due to various reasons. To troubleshoot this issue:
| Possible Causes | Solutions |
|---|---|
| Different tracking codes on different pages | Ensure the same tracking code is used across all pages and platforms. |
| Incorrect event implementation | Verify that events are correctly set up and fired at the right moments. |
| Discrepancies between GA4 and other analytics platforms | Check that the tracking code is correctly implemented on all pages. |
Improper Event Tracking
Ecommerce tracking relies heavily on adequately implementing events. To troubleshoot this issue:
| Possible Causes | Solutions |
|---|---|
| Missing or incorrect events | Ensure all required events, such as purchase, add_to_cart, and view_item, are implemented correctly. |
| Events not fired at the right moments | Verify that events are fired when a user adds an item to their cart or completes a purchase. |
| Incorrect event parameters and values | Check that event parameters and values are correctly set up. |
Incomplete Data Sets
Incomplete data sets can occur due to tracking errors, user interactions not being captured, or technical issues on the website. To troubleshoot this issue:
| Possible Causes | Solutions |
|---|---|
| Tracking errors | Verify that tracking is implemented correctly for all user interactions. |
| User interactions not captured | Ensure all required data, such as product information, user demographics, and transaction details, is captured. |
| Technical issues on the website | Check that the data layer variables and formatting are correct. |
Analyzing Ecommerce Reports
Analyzing ecommerce reports in GA4 is crucial to gain insights into transaction data, product performance, and customer behavior. These reports provide valuable information to help you optimize your ecommerce strategy, improve customer experience, and increase revenue.
Understanding the Ecommerce Overview Report
The Ecommerce Overview Report in GA4 provides a snapshot of your ecommerce performance, including:
| Metric | Description |
|---|---|
| Total Revenue | The total amount of money earned from sales |
| Number of Purchases | The total number of purchases made |
| Average Order Value | The average amount spent per order |
This report helps you understand the overall health of your ecommerce business and identify areas for improvement.
Analyzing Product Performance
The Product Performance Report in GA4 allows you to analyze the performance of individual products, including:
| Metric | Description |
|---|---|
| Sales | The total number of sales for each product |
| Revenue | The total revenue generated from each product |
| Conversion Rate | The percentage of users who make a purchase after viewing a product |
This report helps you identify top-performing products, optimize product listings, and improve product recommendations.
Identifying Customer Behavior
The User Acquisition Report and Traffic Acquisition Report in GA4 provide insights into customer behavior, including:
| Metric | Description |
|---|---|
| User Acquisition | How users interact with your website |
| Traffic Acquisition | What channels drive the most traffic to your website |
| Device Usage | What devices are used to make purchases |
These reports help you understand your customers' journey and optimize your marketing strategies.
Using Data to Inform Business Decisions
GA4 ecommerce reports provide actionable insights to inform business decisions, such as:
- Optimizing product offerings: Identify top-performing products and optimize product listings to increase sales.
- Improving customer experience: Analyze customer behavior to identify pain points and improve the overall customer experience.
- Enhancing marketing strategies: Use data to optimize marketing campaigns and improve return on investment.
Improving Your Tracking Setup
To get the most out of your ecommerce tracking, it's essential to regularly review and improve your setup. This section will guide you through the process of refining your tracking setup to ensure accurate data collection and analysis.
Reviewing Reports
Regularly reviewing your ecommerce reports in GA4 helps you identify areas for improvement, track progress, and make data-driven decisions. Set aside time to analyze your reports and ask yourself:
- What are my top-selling products?
- Which marketing channels drive the most conversions?
- What are the most common pain points in my customer journey?
Applying Insights
Applying insights from your reports can help you optimize your ecommerce strategy, improve customer experience, and increase revenue. For example:
- Identify top-performing products and optimize product listings to increase sales.
- Analyze customer behavior to identify pain points and improve the overall customer experience.
- Use data to optimize marketing campaigns and improve return on investment.
Advanced Features
GA4 offers advanced features like Enhanced Ecommerce, which provides a more detailed understanding of your ecommerce performance. Enhanced Ecommerce allows you to track additional metrics, such as:
| Metric | Description |
|---|---|
| Product impressions | The number of times products are viewed |
| Product clicks | The number of times products are clicked |
| Add-to-cart events | The number of times products are added to the cart |
| Checkout events | The number of times customers complete checkout |
Best Practices
To improve your tracking setup, follow these best practices:
| Best Practice | Description |
|---|---|
| Regularly review and update your tracking code | Ensure accuracy and fix errors |
| Use data validation | Ensure data quality and accuracy |
| Implement data layers | Track complex ecommerce interactions |
| Use GA4's built-in features | Gain a more comprehensive understanding of your ecommerce performance |
Conclusion
In conclusion, setting up GA4 ecommerce tracking is a crucial step in understanding your online store's performance and making informed decisions. By following the essential steps outlined in this checklist, you'll be able to track user interactions, analyze ecommerce reports, and optimize your tracking setup for better results.
Key Takeaways
Here are the key points to remember:
| Step | Description |
|---|---|
| 1 | Set up GA4 ecommerce tracking to understand your online store's performance |
| 2 | Track user interactions to identify areas for improvement |
| 3 | Analyze ecommerce reports to make informed decisions |
| 4 | Optimize your tracking setup regularly for better results |
Ongoing Optimization
Remember, ecommerce tracking is not a one-time task. It requires ongoing optimization to align with the latest ecommerce trends and GA4 developments. Regularly review your reports, apply insights, and refine your tracking setup to ensure accurate data collection and analysis.
FAQs
How to Add Ecommerce Tracking in GA4?
To add ecommerce tracking in GA4, follow these steps:
| Step | Action |
|---|---|
| 1 | Click Tag Configuration > Google Analytics: GA4 Event. |
| 2 | In Configuration Tag, select your Google Analytics 4 Configuration tag. |
| 3 | In Event Name, enter the name of the event (for example, view_item_list). |
| 4 | In Event Parameters, add a row for each event-level parameter. |
How to Use GA4 for an Ecommerce Website?
To use GA4 for an ecommerce website, follow these steps:
| Step | Action |
|---|---|
| 1 | Click Tag Configuration > Google Analytics: GA4 Event. |
| 2 | In Configuration Tag, select your Google Analytics 4 Configuration tag. |
| 3 | In Event Name, enter the name of the event (for example, view_item_list). |
| 4 | In Event Parameters, add a row for each event-level parameter. |
Does GA4 Have Ecommerce Tracking?
Yes, GA4 has ecommerce tracking. There are several ecommerce-specific events in GA4 that can be used to track online purchases and shopping-related activity on your website.
How to Enable Ecommerce Tracking in GA4?
To enable ecommerce tracking in GA4, follow these steps:
Using Google Tag Manager:
| Step | Action |
|---|---|
| 1 | Create a GA4 Configuration Tag. |
| 2 | Create a GA4 ecommerce Event Trigger. |
| 3 | Create a GA4 ecommerce Tag. |
Remember to regularly review and update your tracking code to ensure accuracy and fix errors.